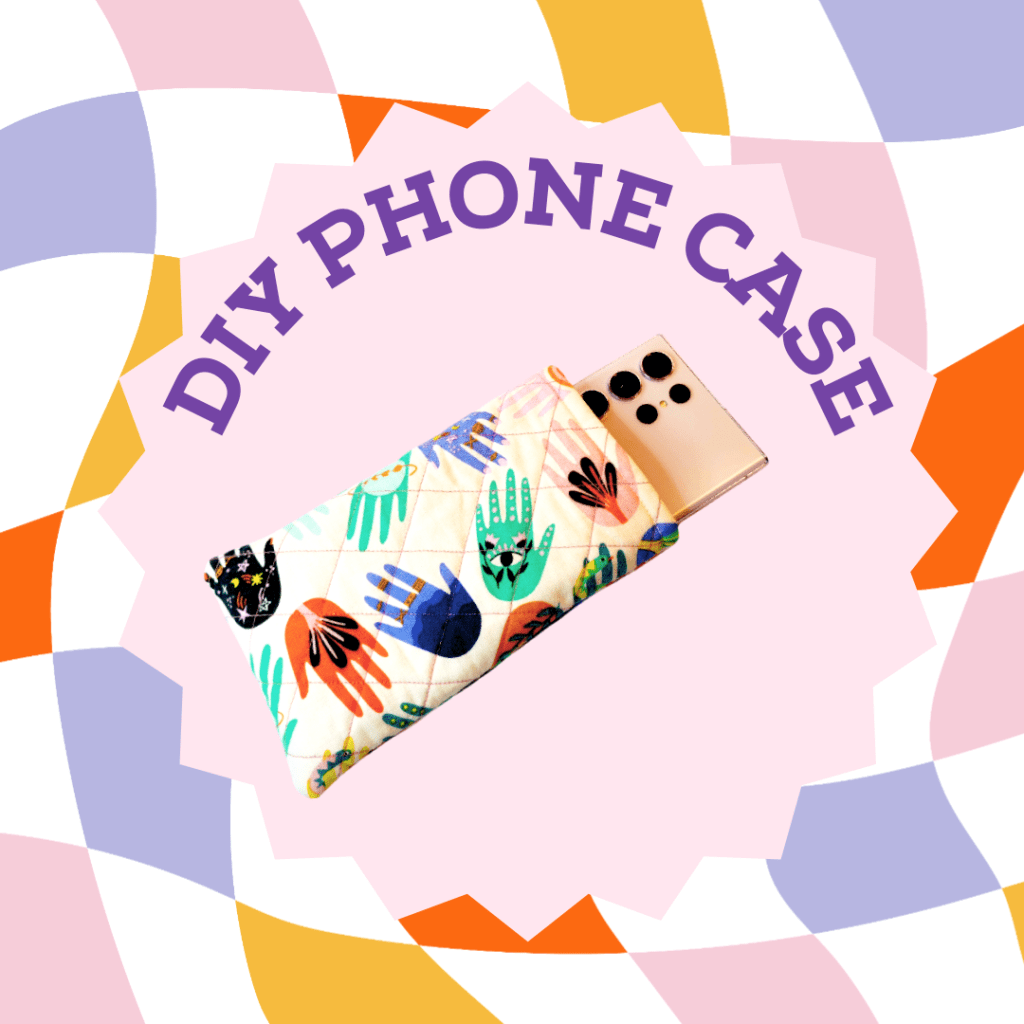
This week in the Adventures of Sewing series I wanted to create something that I was going to use everyday. I admit after buying my new phone I have been struggling to keep track of it, I seem to place it down and lose it instantly. I spend most of my day trying to find it. So I thought I would create a phone case that will make it easier to find, and while I am at it I have decided to take you along with me on the journey.

This phone case is not only adorable and functional, but it’s a super fun project to make. If you love our phone cases and want to support our small business you can also purchase one from our Betty Lorna Vintage Etsy page. Available from the 27th of September 2023 you will be able to purchase a custom and, made-to-order phone cases for yourself.
Supplies
- ⅛ yard of cotton fabric for exterior
- ⅛ yard of cotton fabric for lining
- Washable fabric pen or fabric marker alternative
- Scissors or rotary cutter
- Rotary cutting mat
- Wonder sewing clips or pins
- All-purpose thread, I used gutterman
Fabric Instructions
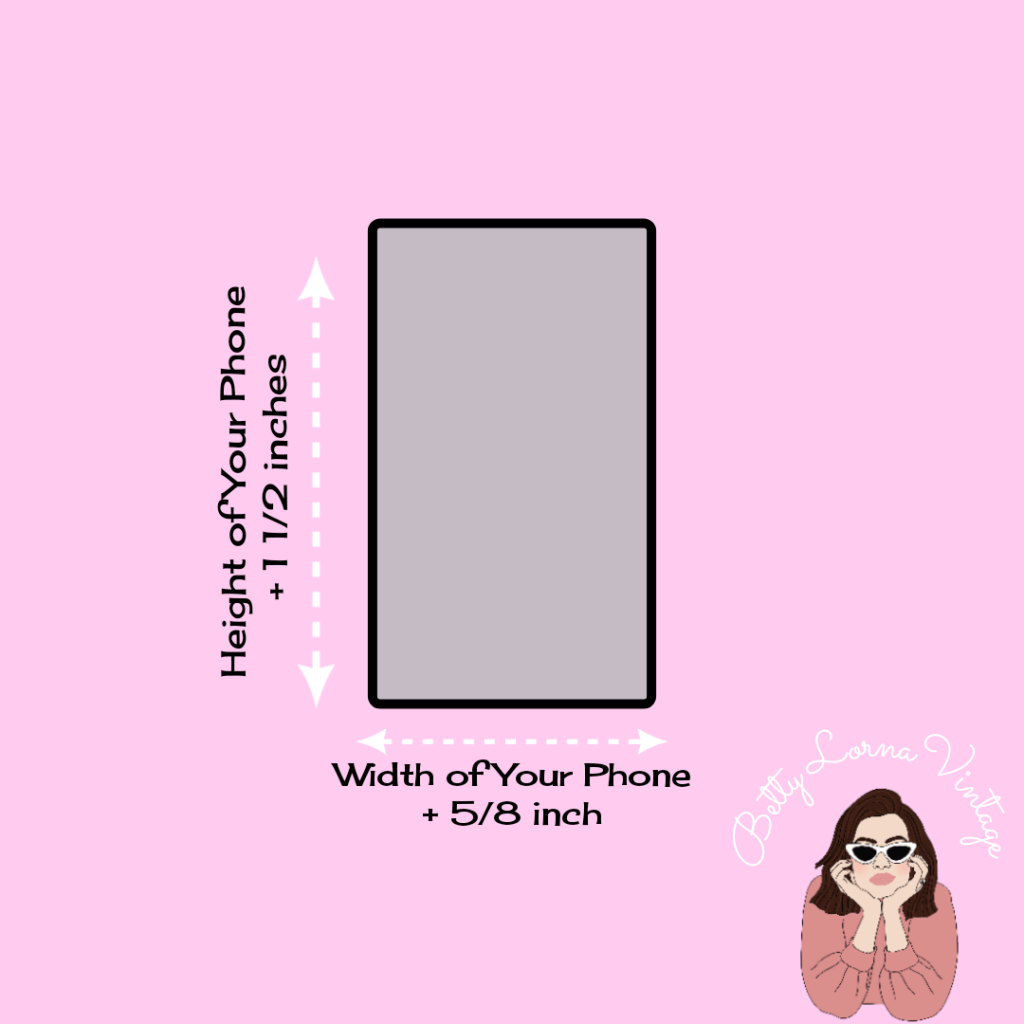
Start out by measuring the dimensions of your phone. Measure the length, width and thickness of your phone. From your phone measurments, you will need to add 1 1/2 inches to your heaight measurment and 5/8 inch to your width measurment.
With your new measurments, cut the following from your exterior and interior fabric as well as your batting:
- 2 Rectangles of Exterior Fabric
- 2 Rectangles of Lining Fabric
- 2 Rectangles of Quilt Batting Interfacing (Note: Add an extra 1/2 inch to your length and width measuremnts for your batting panels. These will be trimmed down later to size).
Below I have listed the measurements I used to create my phone case. My case was designed for the Samsung s23 ultra, so be mindful that you will have to alter the size of your fabric pieces to fit your phone. Ideally you want your phone to fit snug in the case and for it to be not too tight or too loose. So you will have to cut your fabric according to the guide shown above.
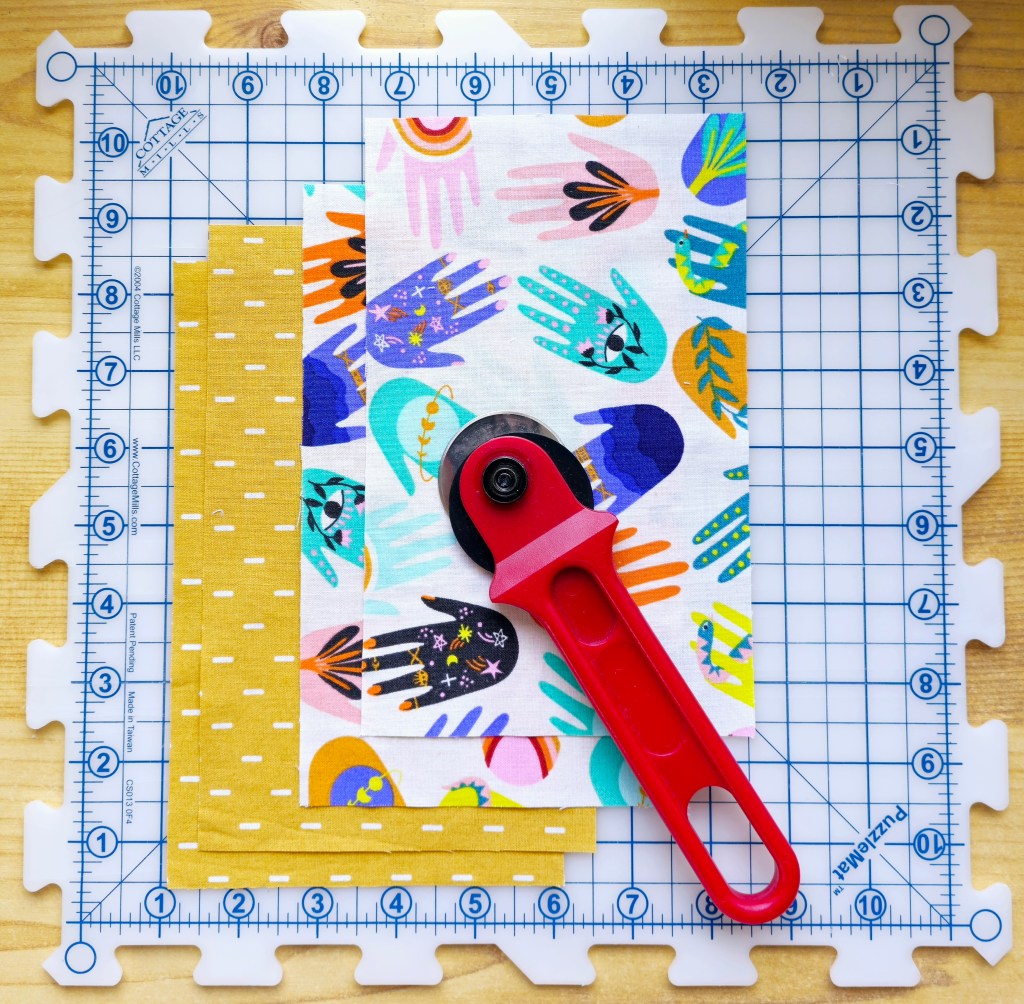
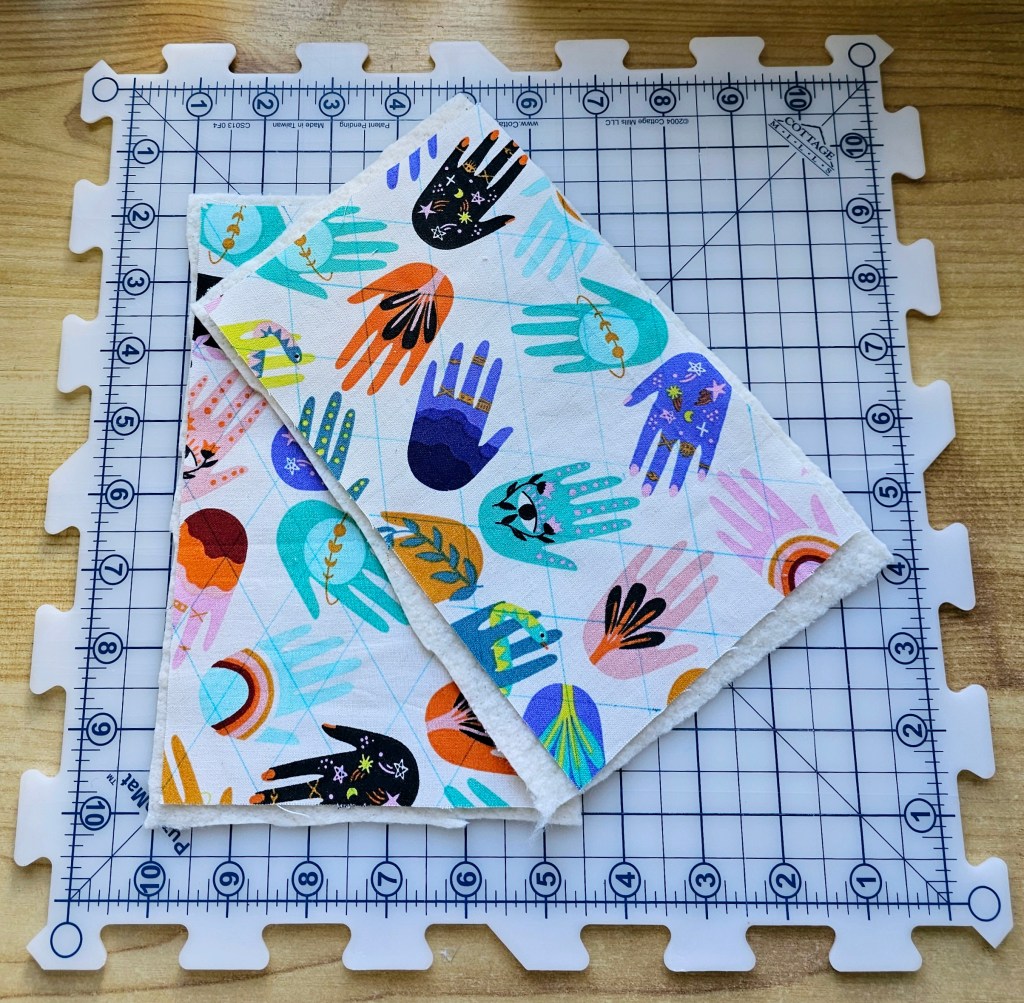
From the fabric for your exterior panels and lining panels, cut
- 2 Rectangles 8” x 5” (Exterior Fabric)
- 2 Rectangles 8” x 5” (Lining Fabric)
From the quilt batting interfacing, cut:
- 2 rectangles 8.5” x 5.5”
- These panels are cut slighter bigger for the quilting process, but will later betrimmed down to 8” x 5”. This just ensures our panels are nice and neat.
Quilting
Before we sew our panels together, we have to quilt our exterior fabric panels. If you have decided to not quilt your panels, you can skip ahead to the next section.
For those of you who are quilting your exterior panels, let’s begin by selecting our quilting design. While you have no limitations whatsoever on how to quilt your panels. I decided to keep my design simple, and opted to sew straight lines on a diagonal, creating a cross-hatched design.
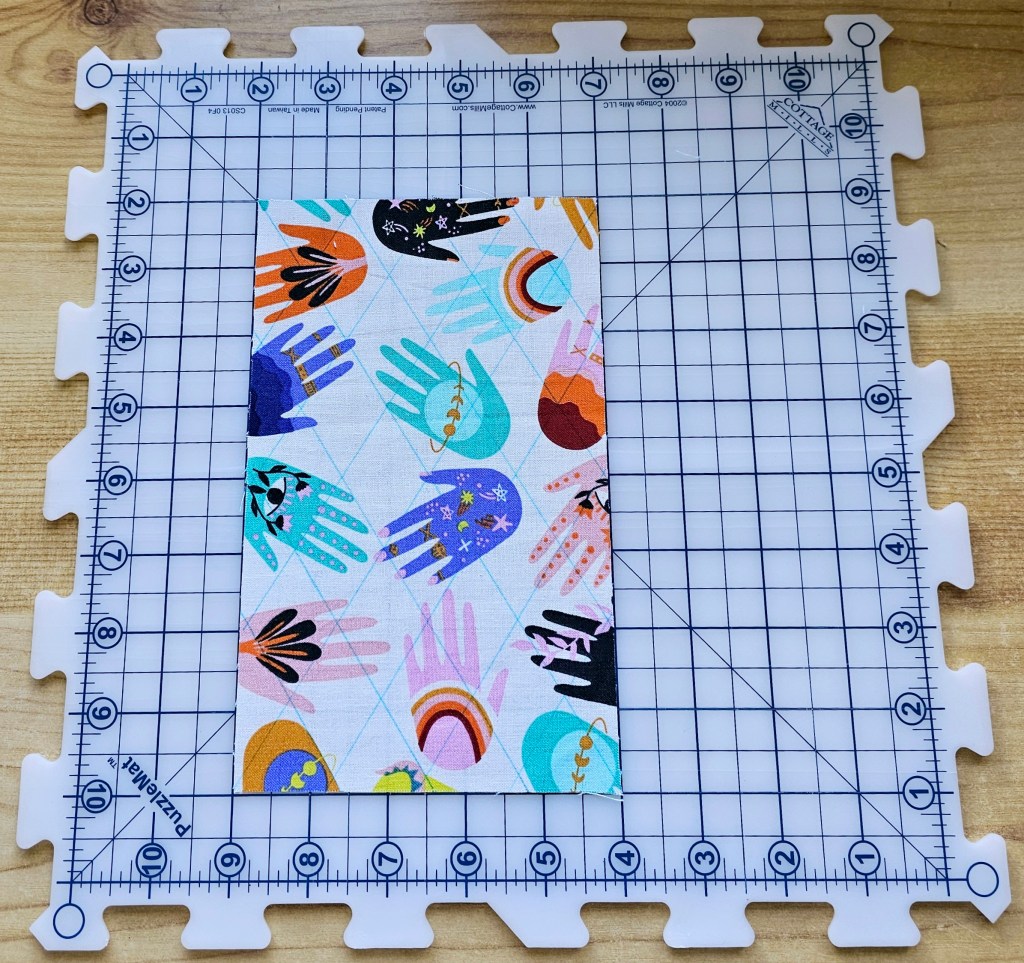
Using a quilting ruler and a water-erasable marker, I placed the quilting lines 1 inch apart.
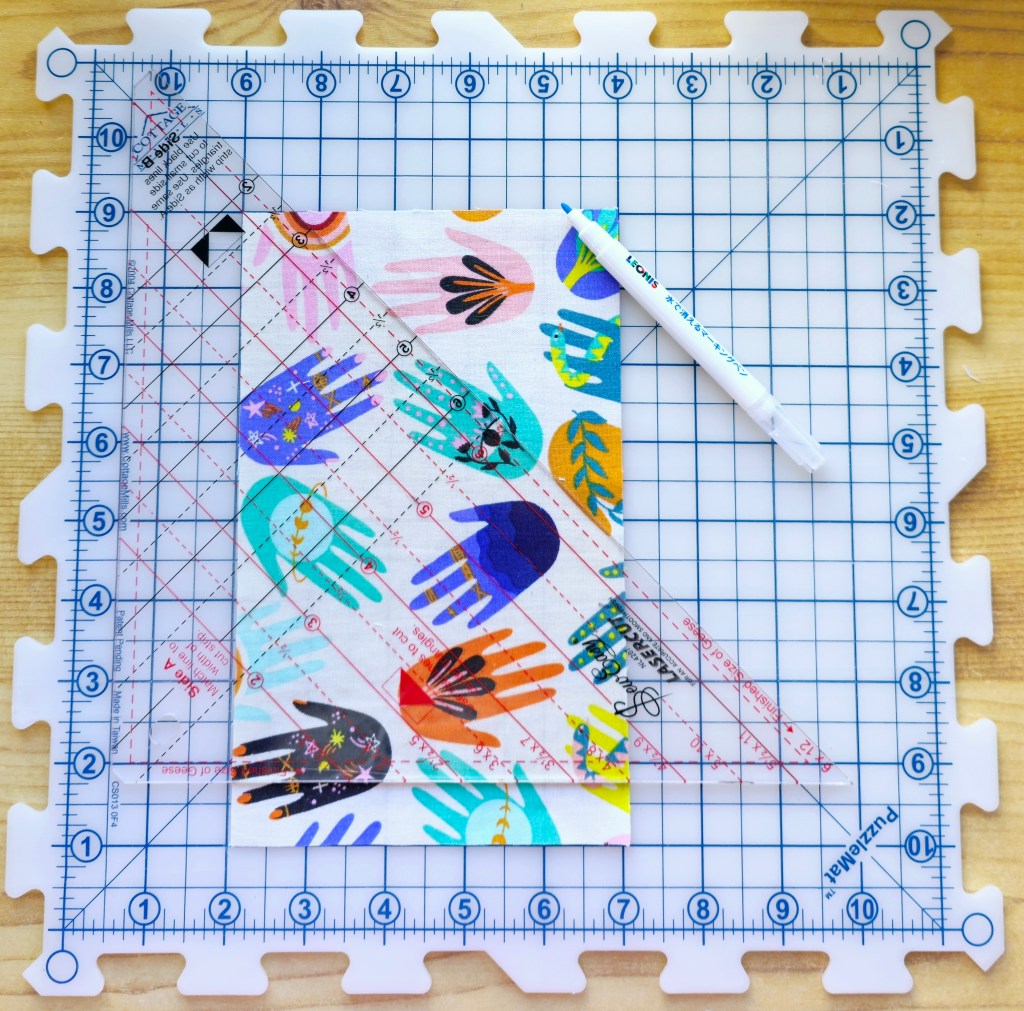
Now it’s time to start quilting! Start by placing your quilt top and batting together. Make sure that the batting is touching the wrong side of the fabric. In this step, make sure you use a flat surface to spread and smooth out your fabric. Make sure there are no wrinkles! If you have any, make sure to smooth them out.

To fix the layers together and prevent shifting you can use fabric clips or pins, I decided to skip this step though.
Starting from the center and working my way outwards, I quilted my panels from top to bottom. Quilting in this direction will ensure that your quilting stitches are in the same direction, and prevent puckering.
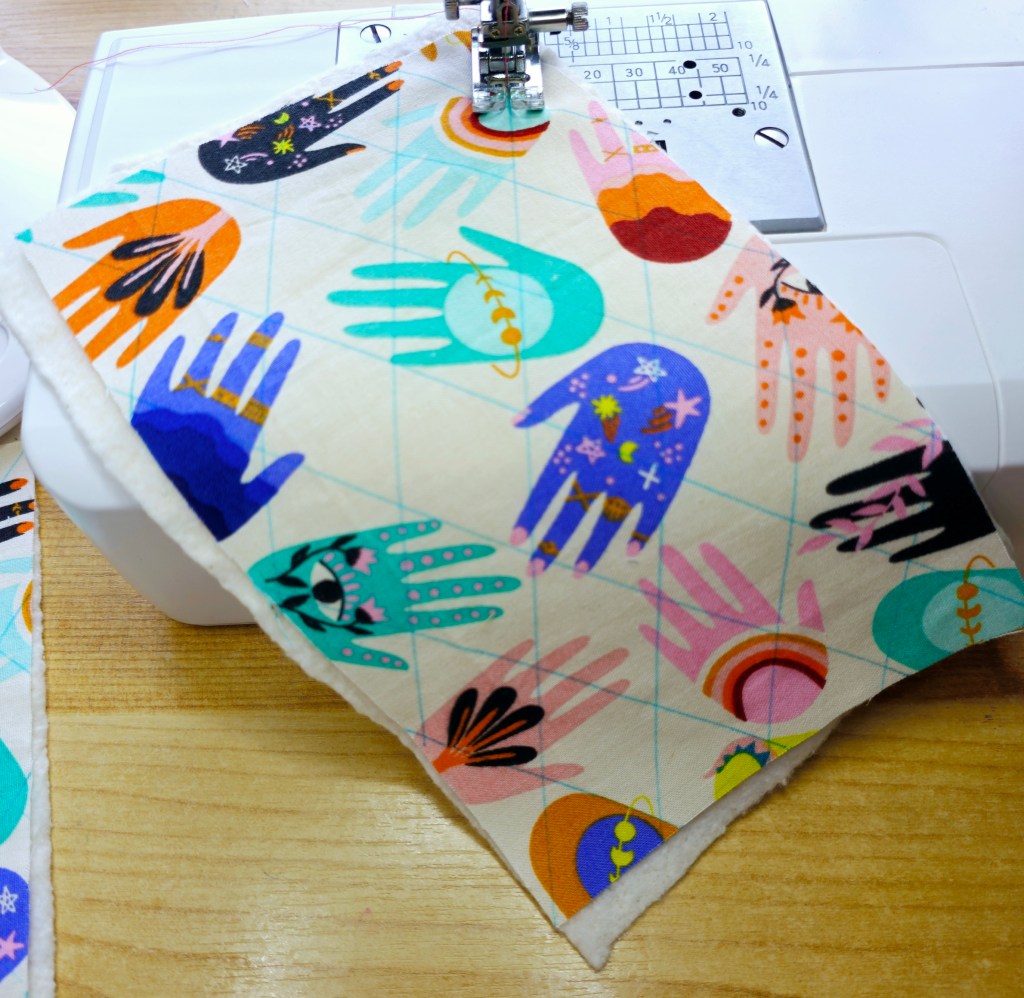
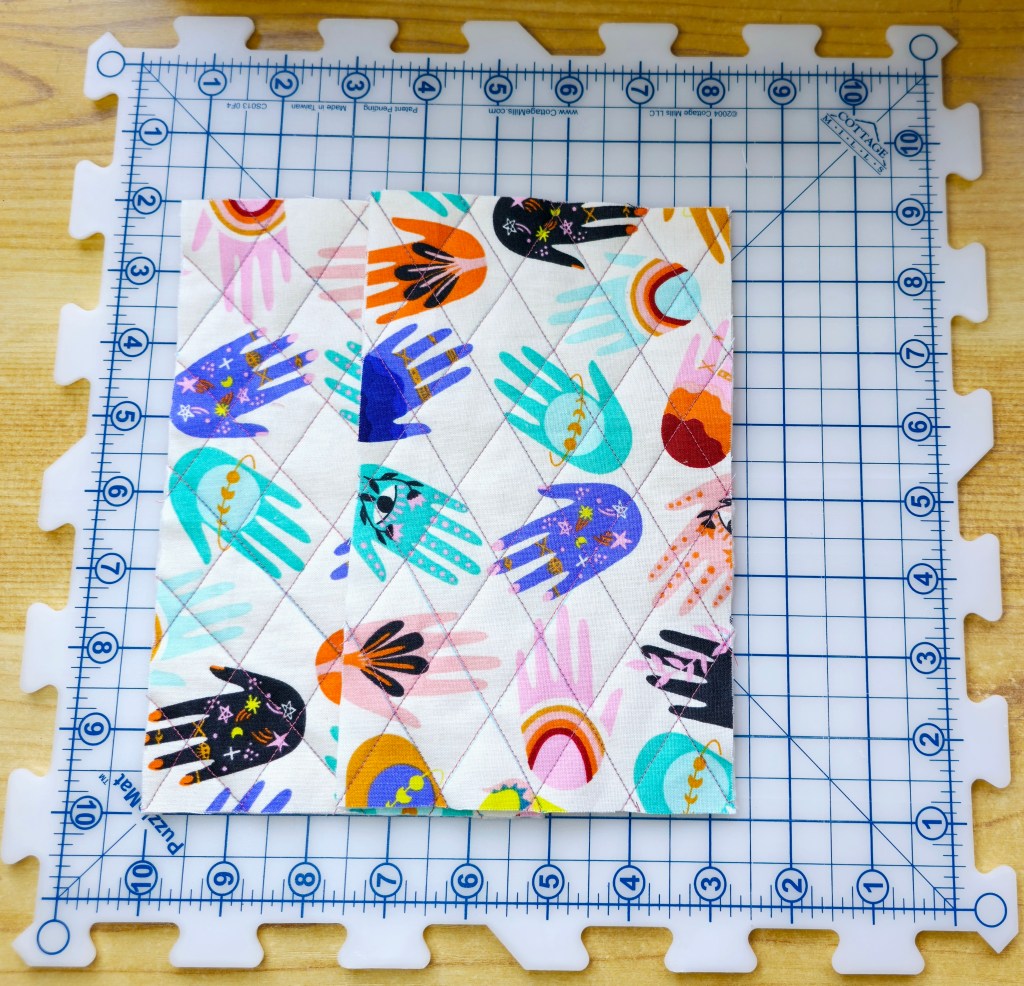
Trim panels back to 8” x 5” using your rotary cutter or scissors.
Sewing
Note: Seam allowance is 1/4 inch throughout, unless otherwise stated.
Place your two quilted exterior panels right side together, and using a ¼” seam allowance sew the panels together, making sure to leave the top seam open.
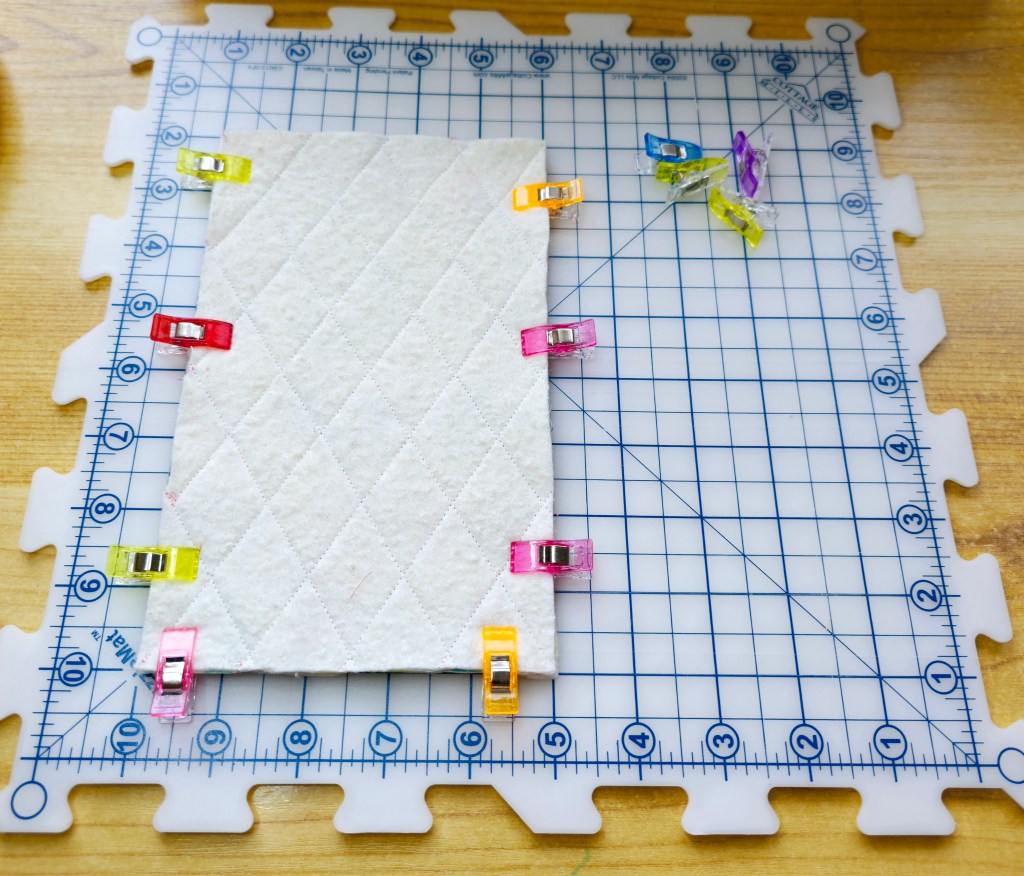
Repeat the previous step for your interior panels, but this time leave a 2.5” inch opening on one side. This will allow us to turn out our fabric later.
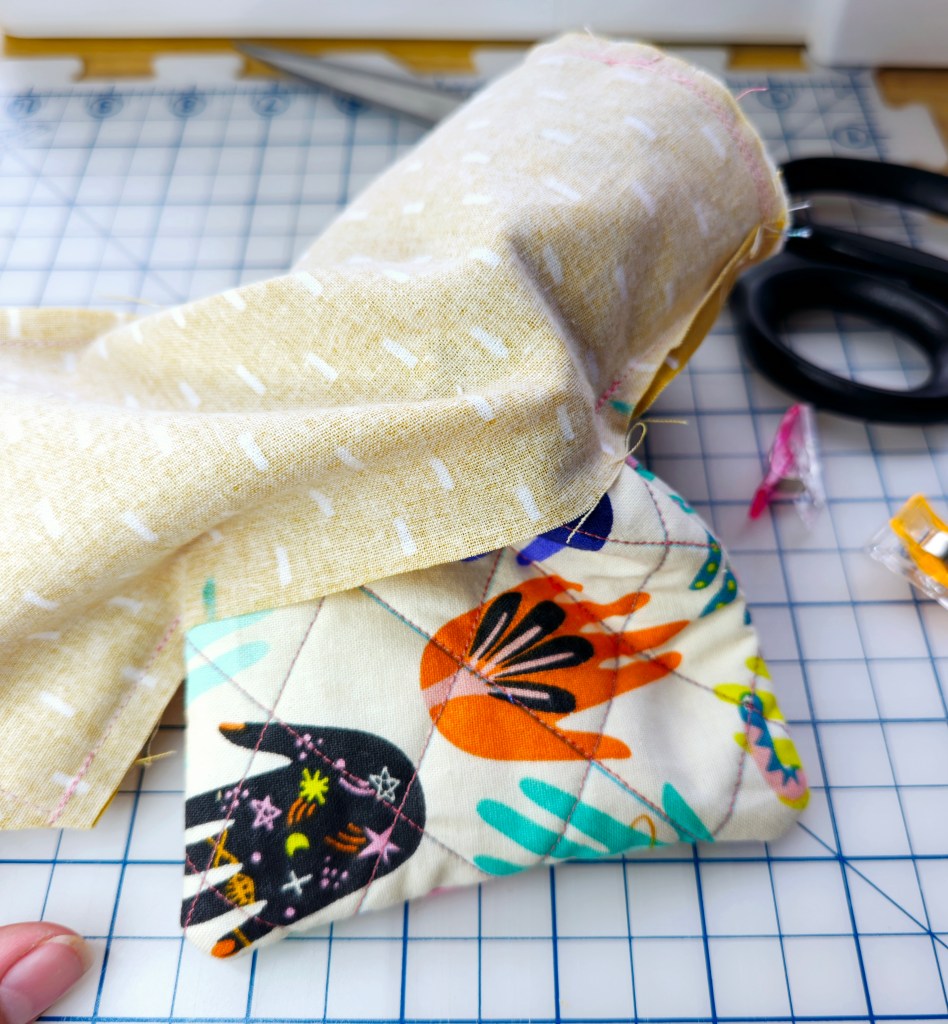
Trim the corners of the interior and exterior panels as shown in the pictures.

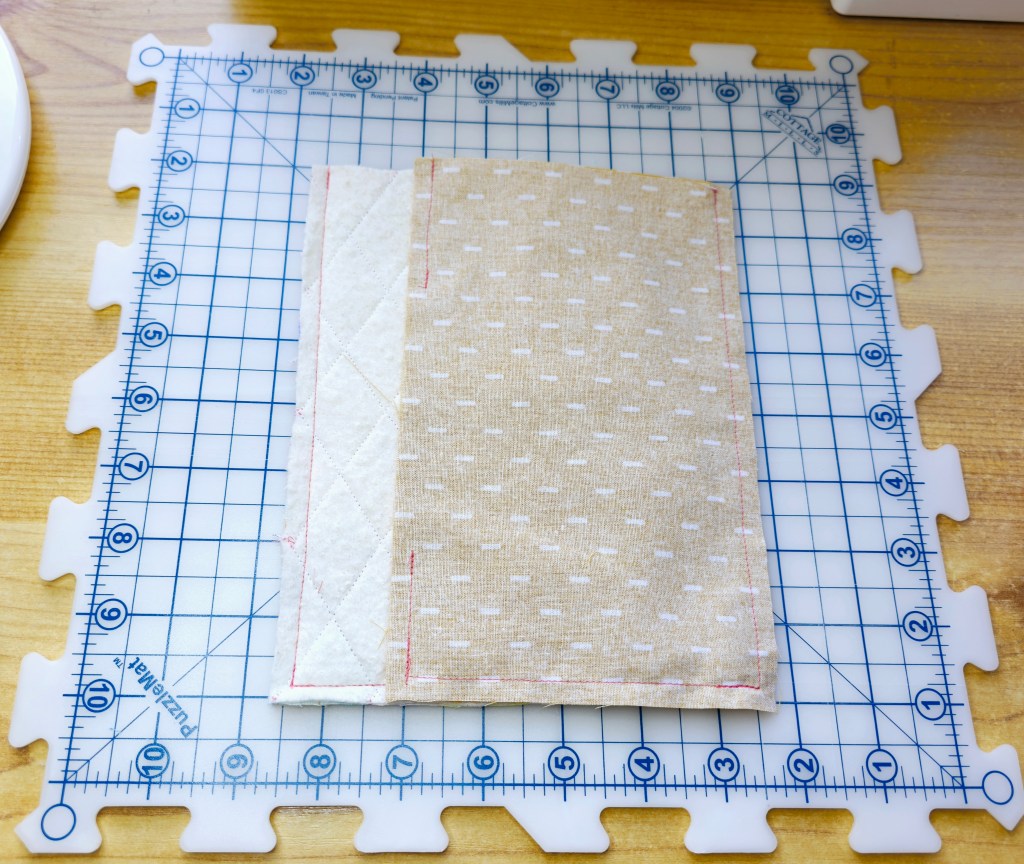
Turn the exterior panels right side out, then use a pencil or turning tool to push the corners out.
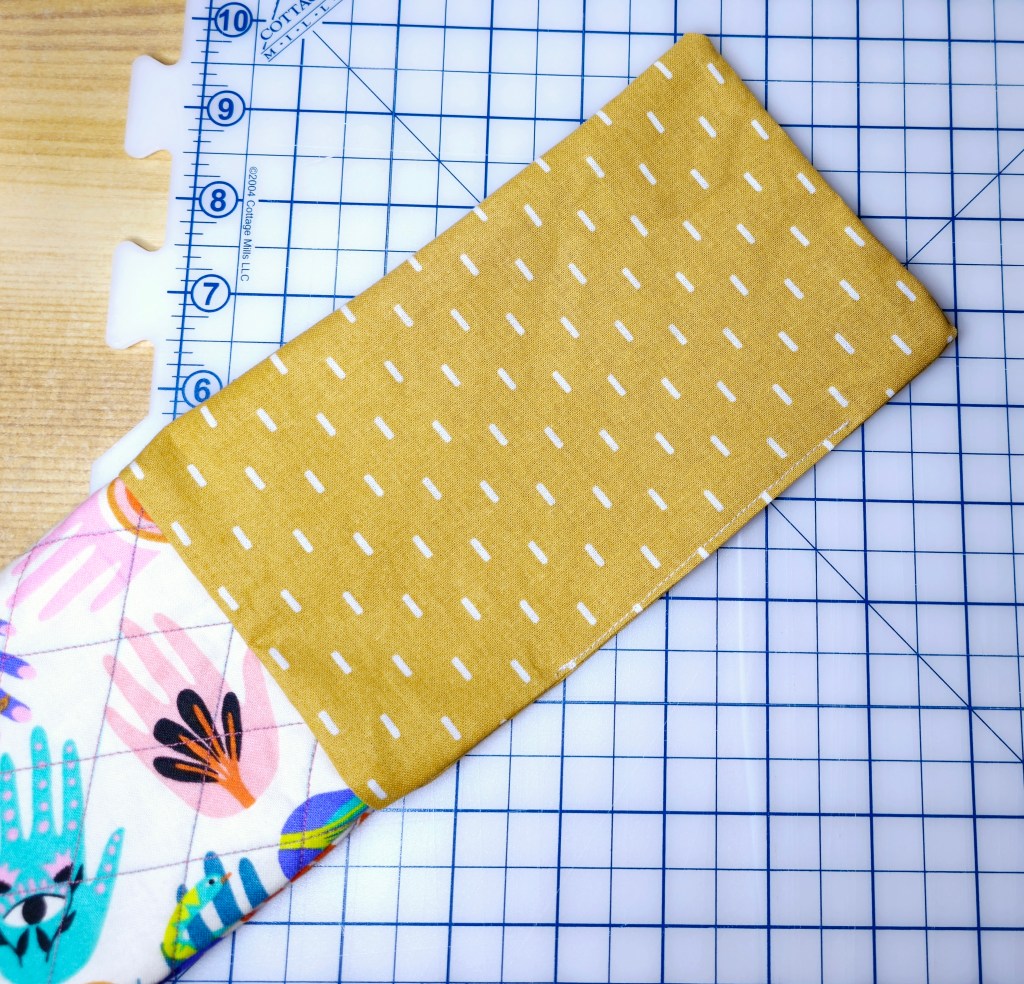
Next, place the interior panels into the exterior panels as shown below, almost like a fabric burrito.
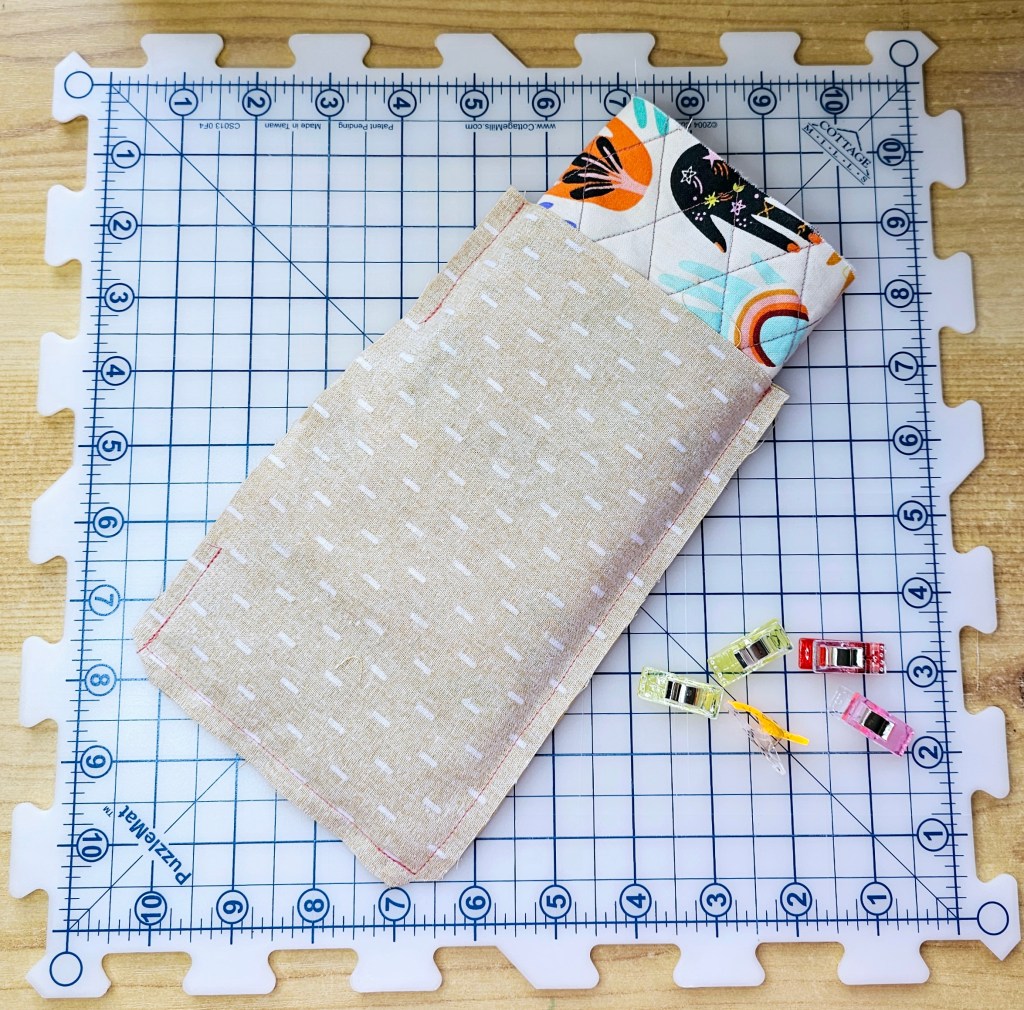
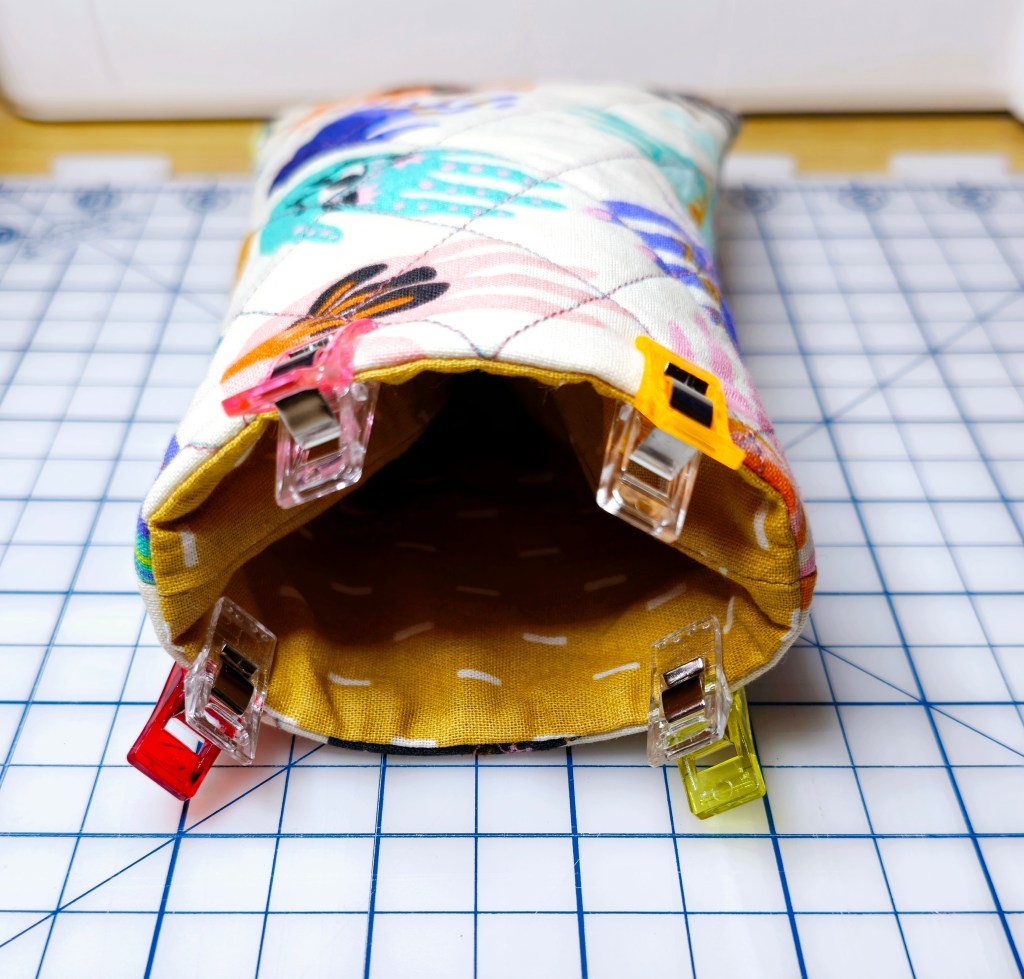
Then line up the seams of the interior and exterior panels, using fabric clips to hold the seams together. Make sure your side seams are aligned on both sides.
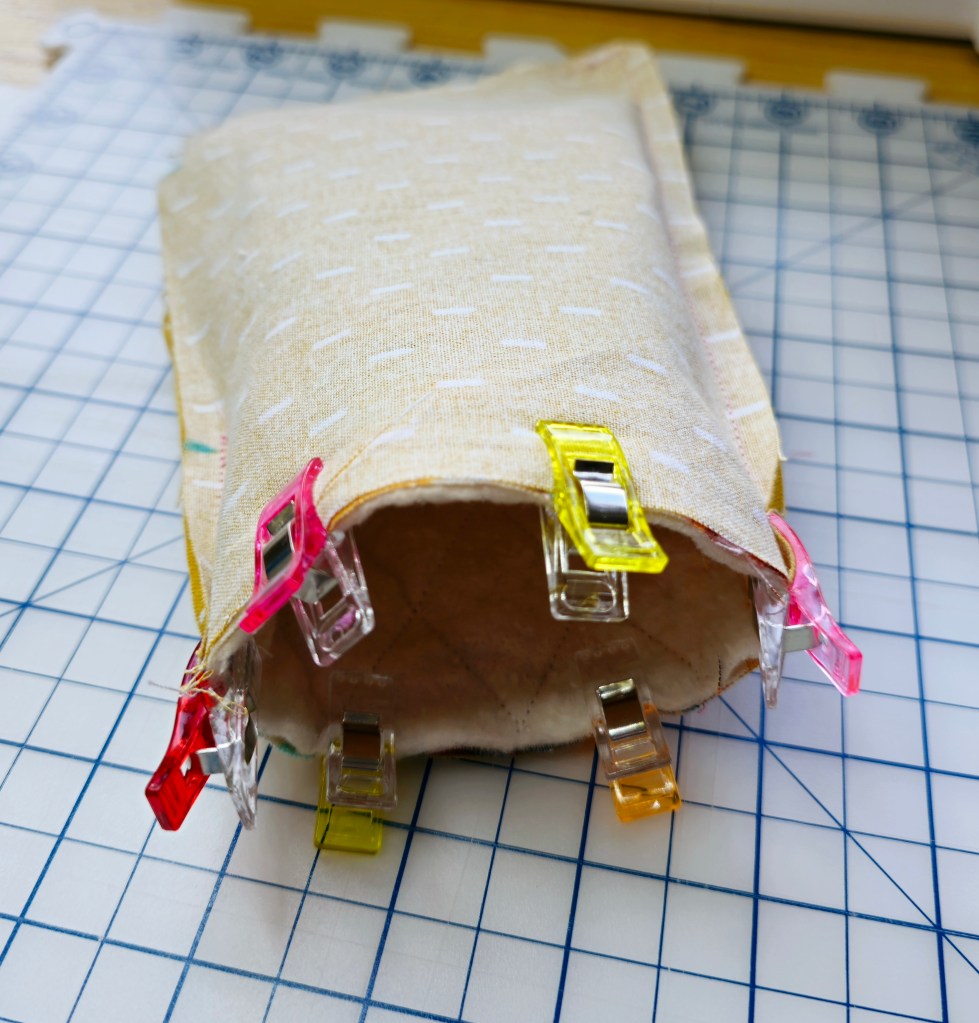
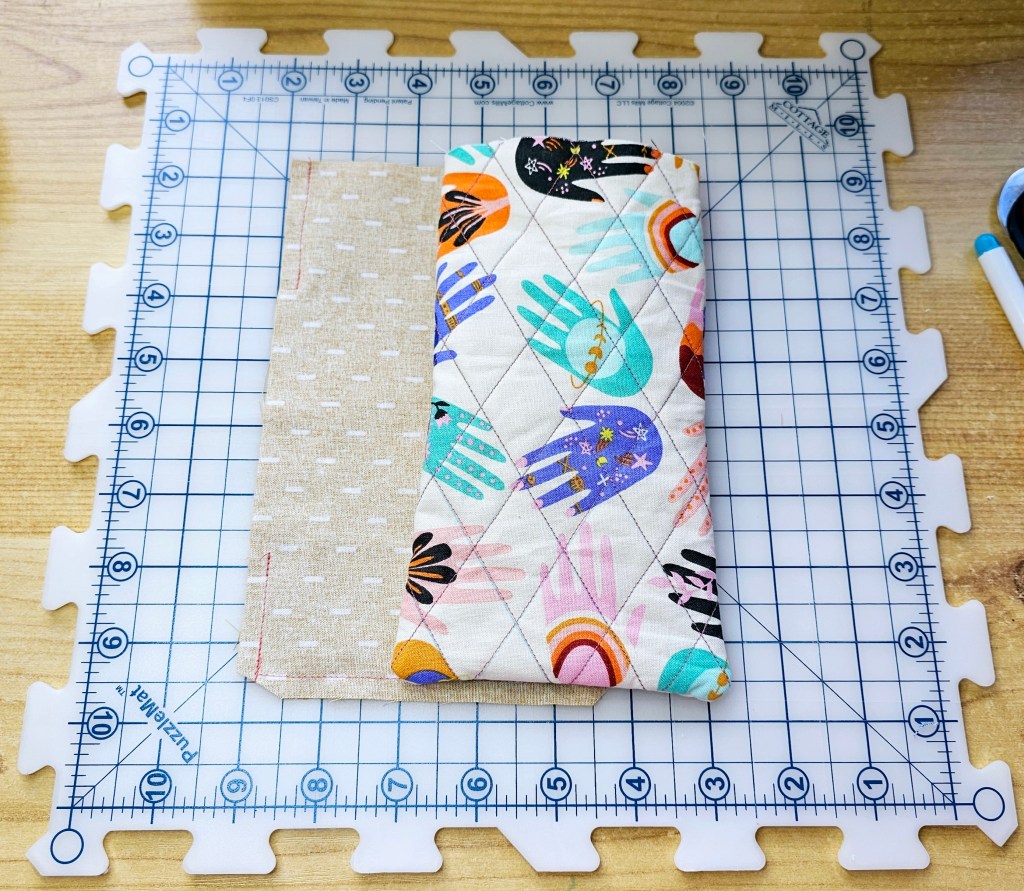
Take your quilted burrito to the sewing machine and sew all the layers together, this time using a ½” seam allowance.
Turn the case right side out through the opening in the lining.

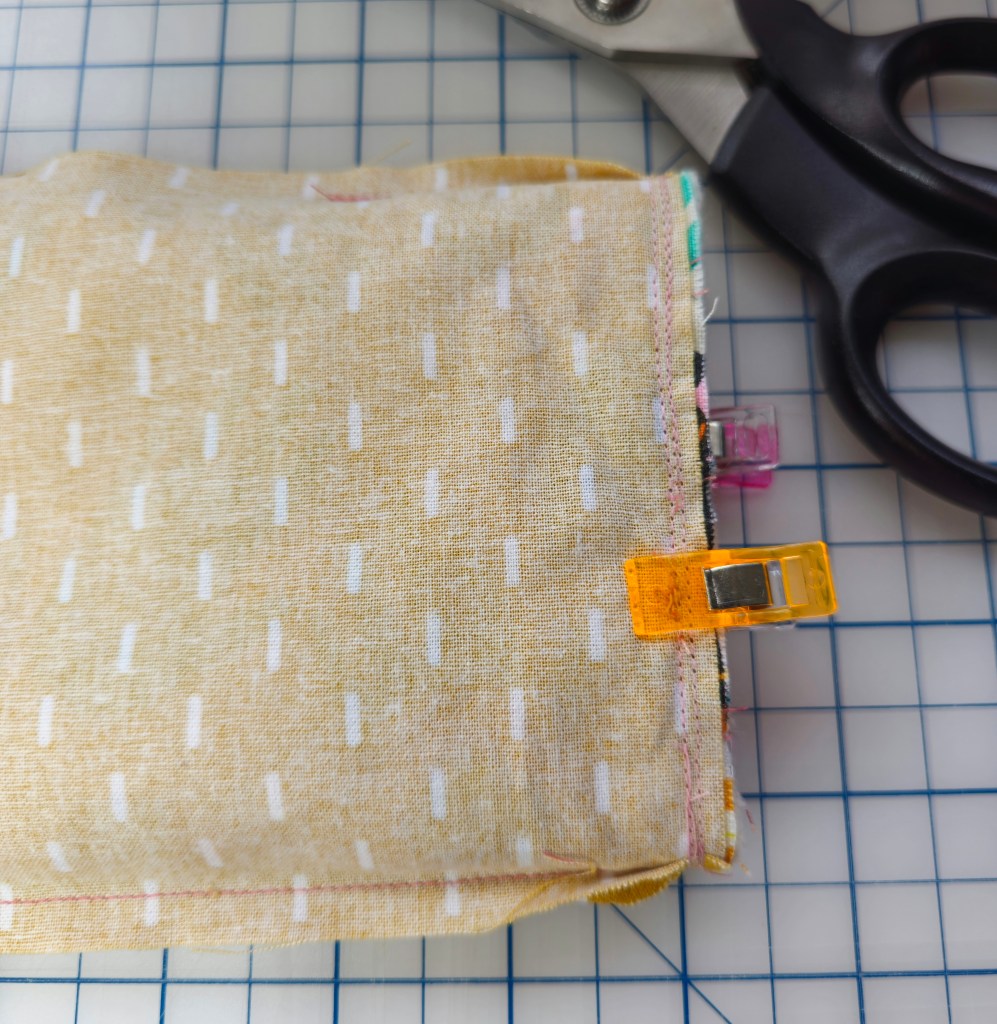
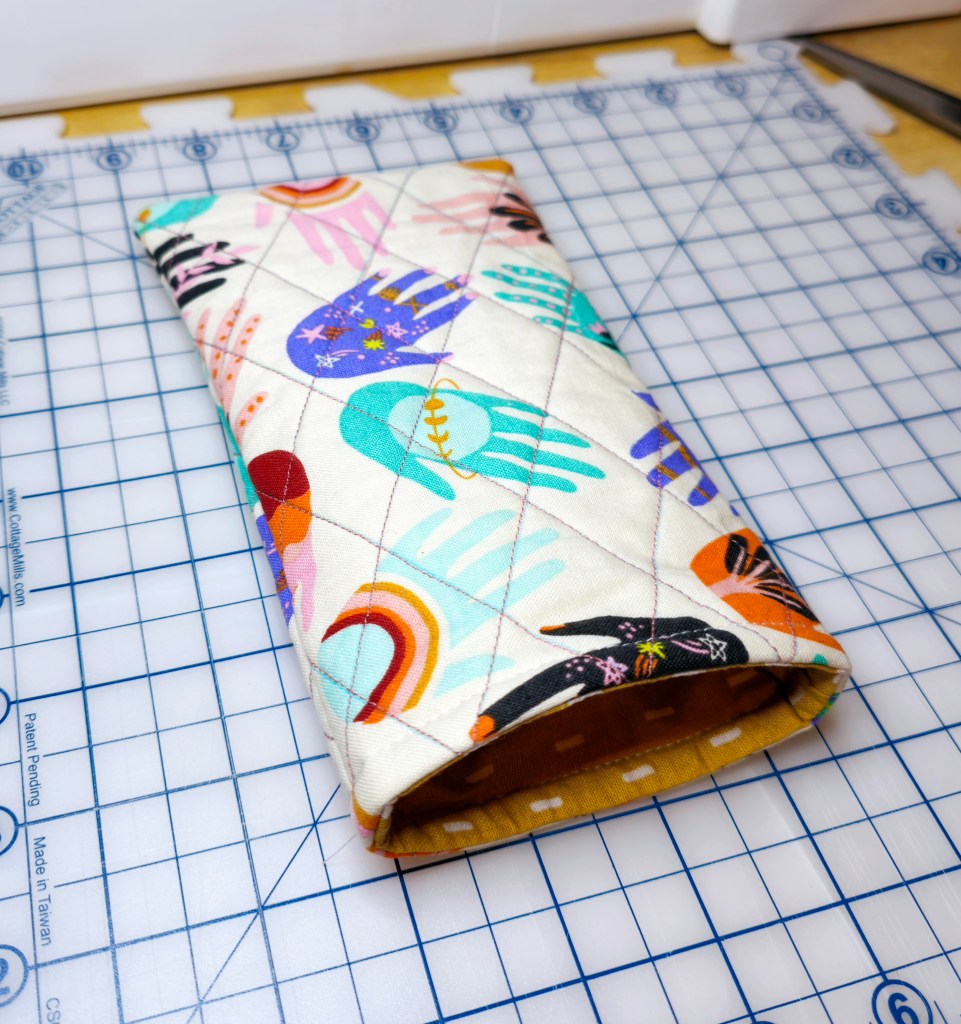
Press the edges of the opening inside. Sew the opening closed close to the edge, I used a ⅛” seam allowance. This makes sure our stitching doesn’t create too much bulk and it makes it look a lot more professional.
And for the last step, all you have to do is tuck the lining inside the exterior panel, press the seam down nice and flat and top stitch the panels together using 3/8 inch seam allowance.
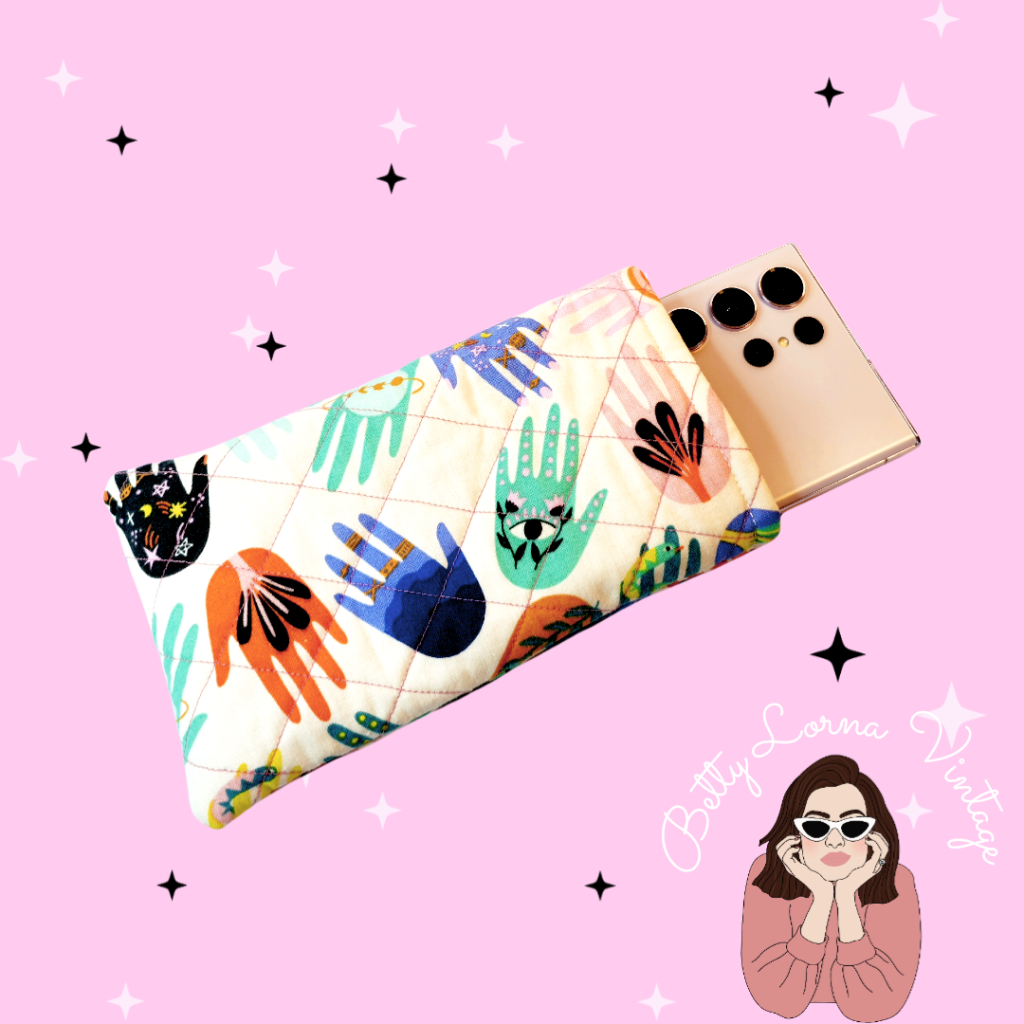
Voila! That’s it. We have completed our beautiful phone case. And what can I say, my phone fits as snug as a bug in a rug and I couldn’t be happier.
I hope you all have enjoyed this free phone case pattern, and if you did make sure to leave a comment and share with all your sewing and quilting friends and family so they can make one too.
If you’re interested in purchasing a phone case like this, Betty Lorna Vintage will be releasing a collection of them on Wednesday the 27th of September. They will be made to order for your phone, so you can have a fabulous and one-of-a-kind phone case. Check out these cases and other awesome products on our Etsy page.
See you next time!
Love,
Georgia (Owner of Betty Lorna Vintage)

Leave a comment